Click on any thumbnail image below


|
Click on any thumbnail image below |
|
|
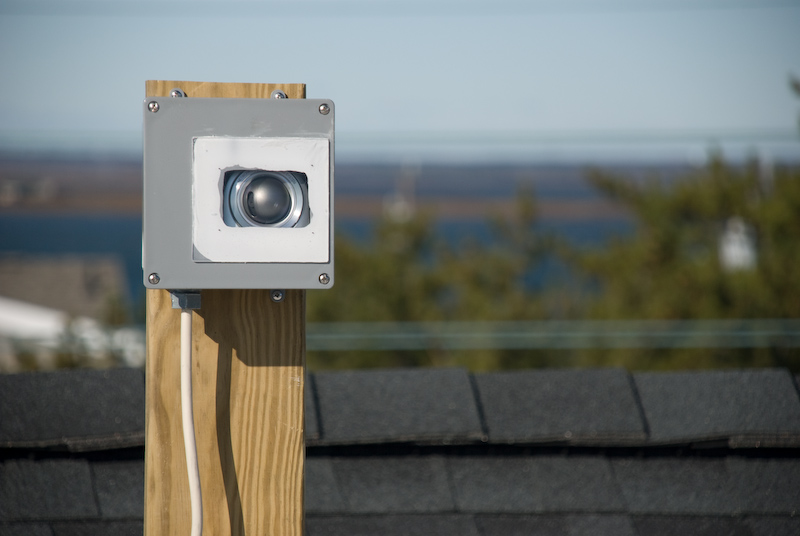
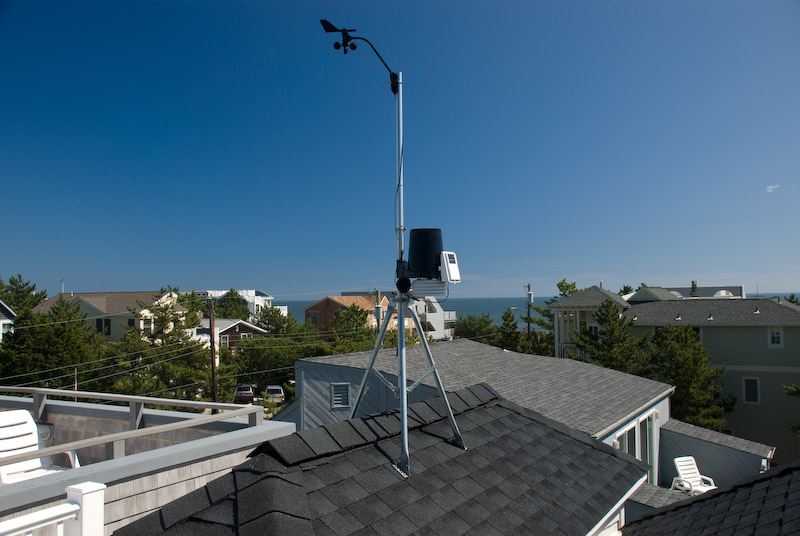
Dec 9, 2008. The roofcam, inside it's weatherproof box, is perched on the roof deck. The ocean and the weather station are both visible to it. |
|
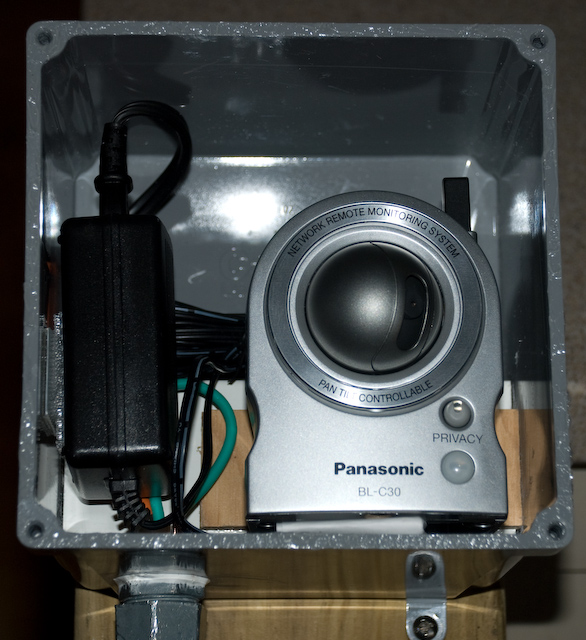
Dec 9, 2008. I modified a NEMA weatherproof electrical box to house one of the Panasonic netcams outdoors. This was much cheaper than buying a outdoor-rated camera. |
|
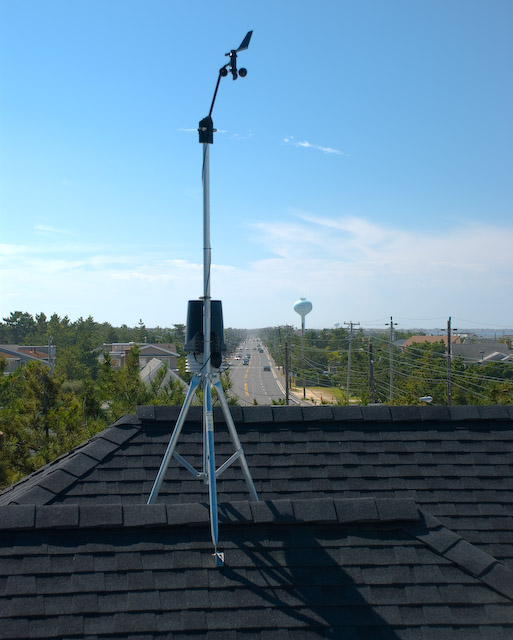
Sept. 19, 2008. The weather station (i.e. 'met tower') has a commanding view of the island. It publishes reports to this page. |
|
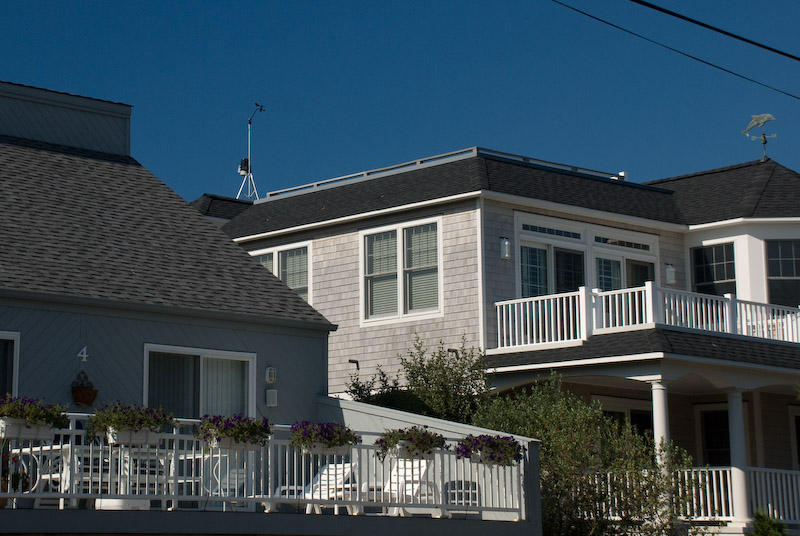
Sept. 19. The weather station as seen from street level. |
|
Sept. 19. I am doing some final adjustments and tests on the roof. The weather station is a Davis Vantage Pro2 wireless unit. |
|
Sept. 19. Here is the assembled anemometer, rain guage and electronics package for the weather station. |
|
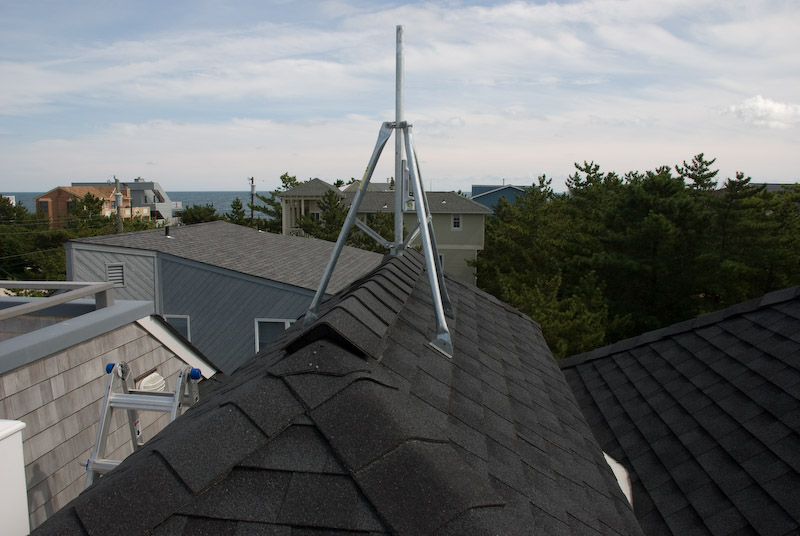
Sept. 19, 2008. I positioned the tripod mount for the weather station on top of the stair tower. |
|
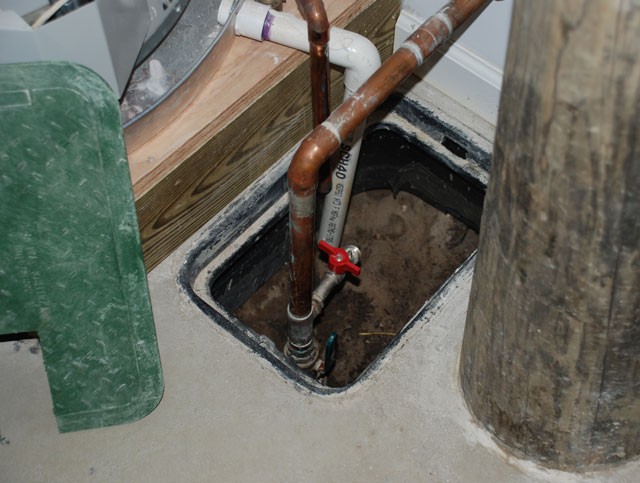
March 29, 2007. My water shut off (blue handle) and house drain (red handle) valves come in handy at this time of year. The house drain system is explained here. |
|
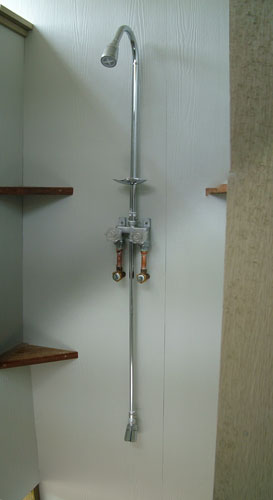
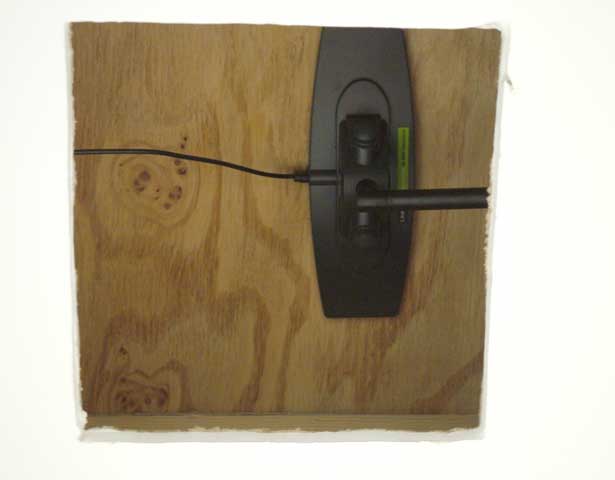
Jan. 6. Our shower fixture (which can be purchased here) is installed in the outside shower booth. The lower nozzle is a footwash. No one wants to try it out in January. |
|
Jan. 6. GIVE ME A BREAK, NEW JERSEY!! |
|
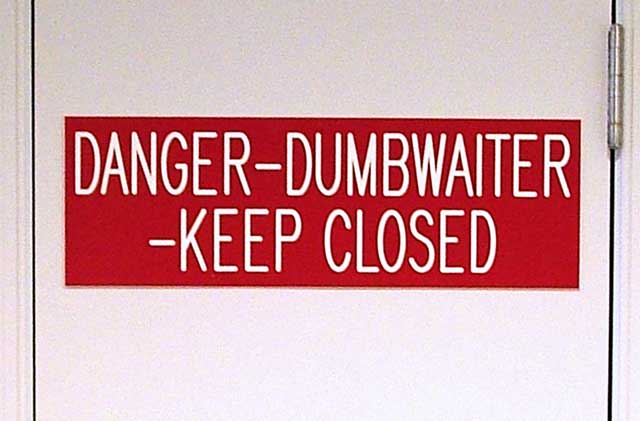
Jan. 6, 2006. I guess that this is an improvement, however slight. The State allowed these "professional quality" warning signs to be used. The dumbness goes beyond the waiter. |
|
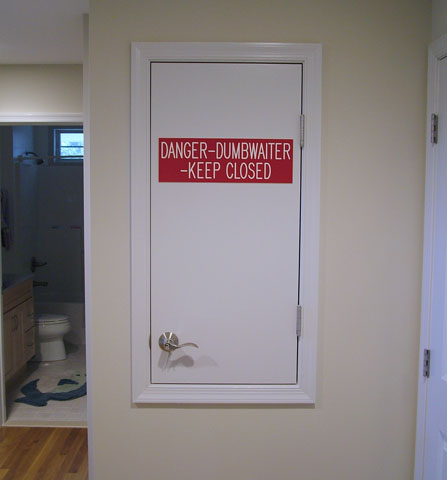
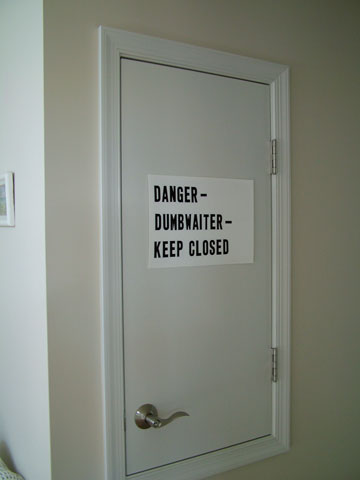
Dec. 19, 2005. Our tax dollars at work. The good news is that New Jersey finally approved our dumbwaiter. The bad news is that they required these dumb signs with 2-inch lettering on all three dumbwaiter doors. |
|
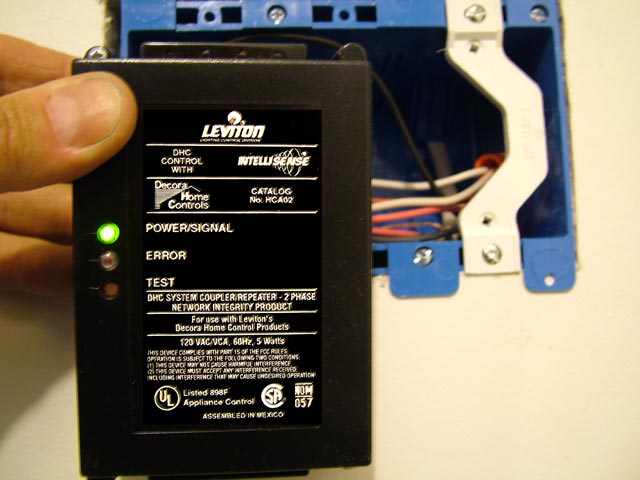
Oct. 16. This is the Leviton HCA02 signal bridge/ amplifier/ repeater that I use to assure that the X-10 automation systems work reliably. It links the A and B sides of the house electrical circuit. I installed it in its own electrical box right under the main breaker box. |
|
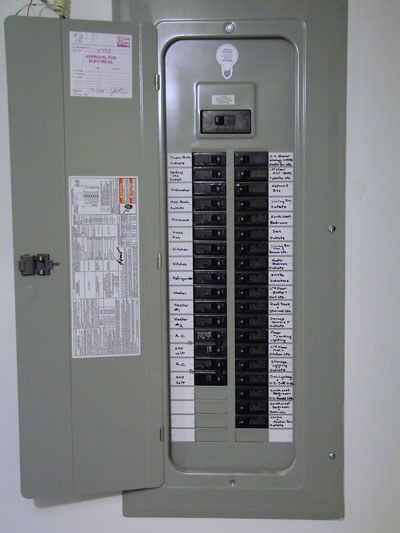
Sept. 16. John did a really neat job finishing up the breaker box. Everything has been clearly labelled. |
|
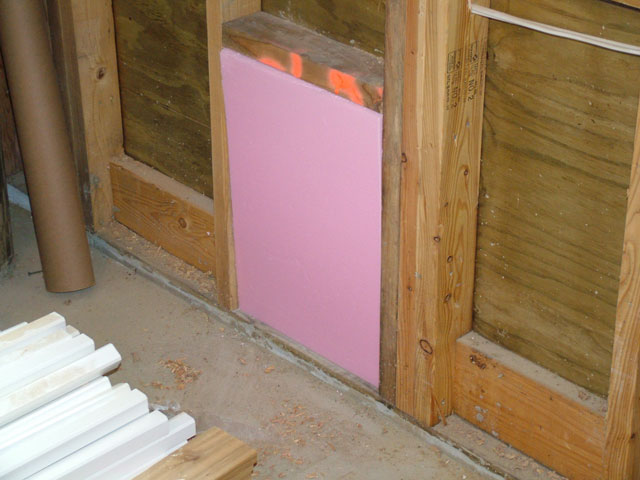
Sept. 16. Rather than install plywood doors, which strike me as defeating the purpose of the flood vents, I cut and friction-fit extruded polystyrene (XPS) panels on the inside of the 9 vents. These are air-tight, but will easily push in and float clear of the vents in a flood. |
|
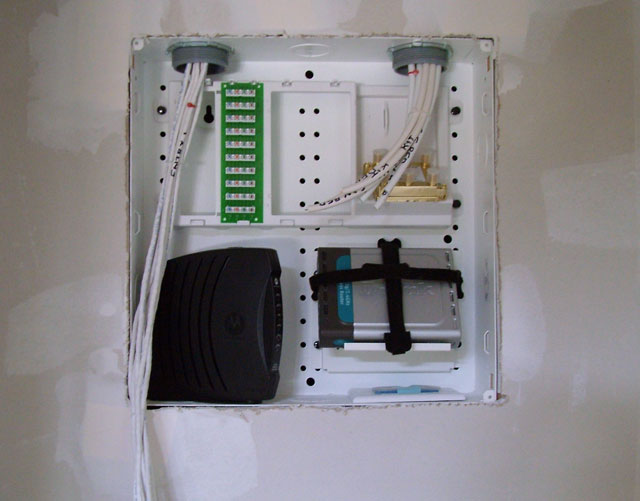
Aug. 9. I installed the Motorola Surfboard 5100 cable modem (the big black thing), notified Comcast and crossed my fingers while I tested the systems: TV's, phones, wireless laptops. Nothing blew up. In fact, everything works! I can now put the cover on the network box. |
|
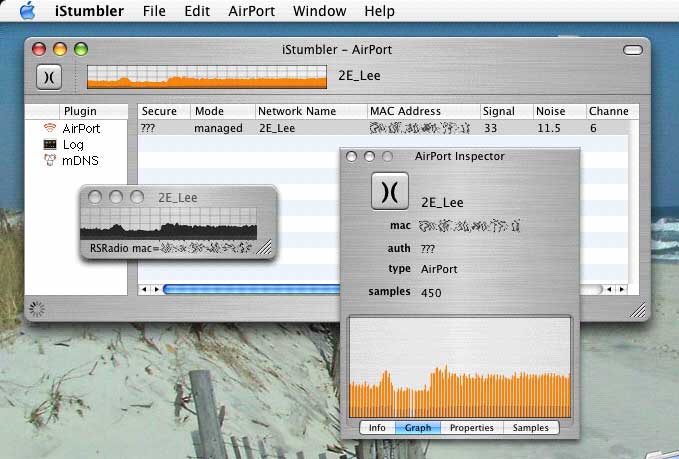
Aug. 8. The D-Link WiFi router is on and working. It's amazing what $20 (after rebate) can buy today! The external antenna inside the network closet ceiling is giving me a strong signal throughout the house and outside. Now for the cable modem... |
|
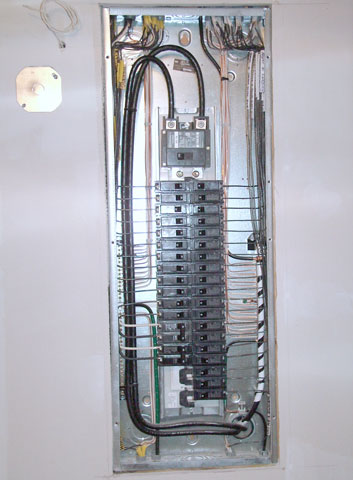
June 30. The breaker box is almost fully hooked up. Very neat work by John. I almost looks like a schematic diagram. |
|
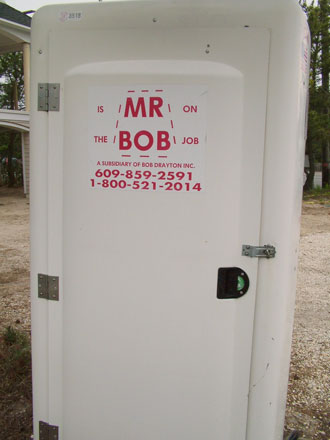
June 30. After 8 months of silent, dedicated service, Mr. Bob left our jobsite today. His job has been "in-sourced" to the new bathrooms. Mr. Bob worked when the temperatures were near zero degrees. The new ones will never match that record. |
|
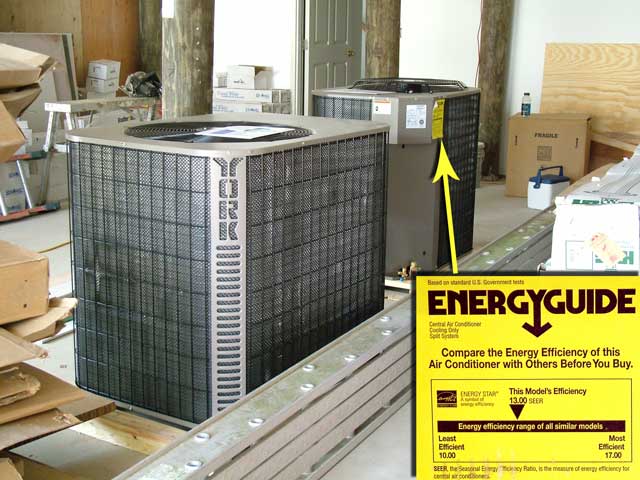
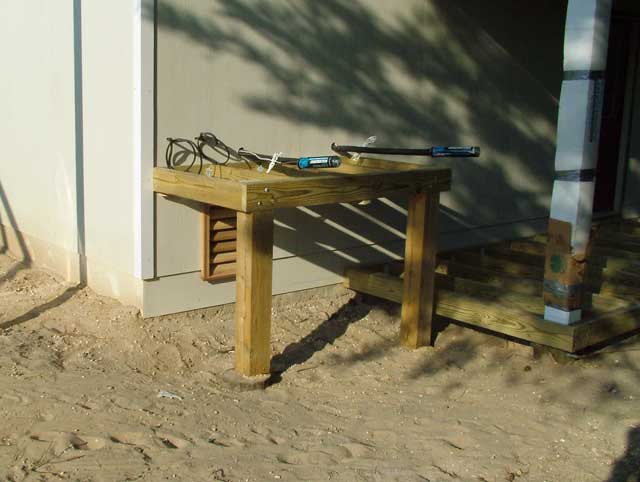
June 28. The new platform for the air conditioning condensers is finished and the condensers are in place. We may test them tomorrow. |
|
June 22. The network box has all of its components in place. Just a few more cables and it will be ready. |
|
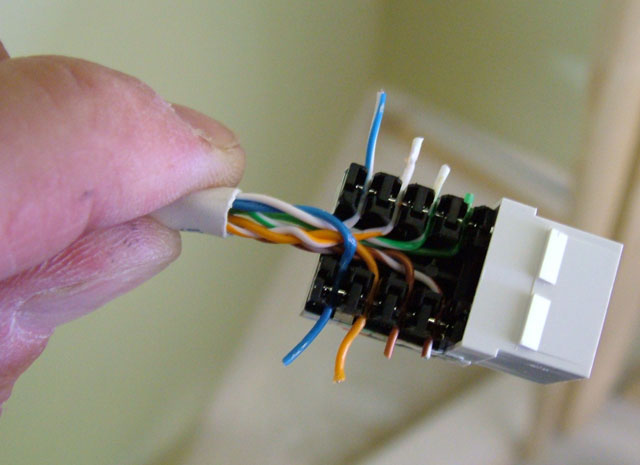
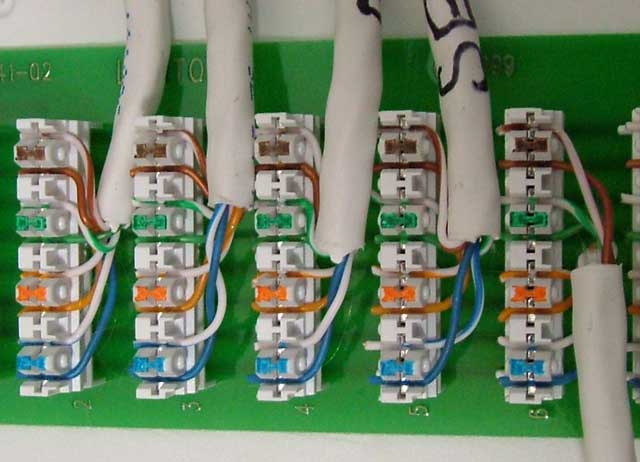
June 22. I installed the phone, ethernet and TV cable wall ports today. These very tiny Cat 5 port connectors are easier to wire than they may look. However, it does require some patience and a steady hand. |
|
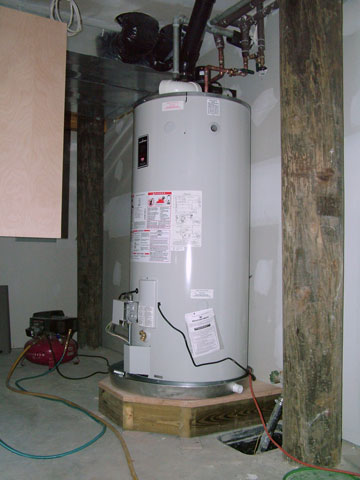
June 21. The water heater arrives and it is a monster. I asked Jeff to trim the corners of the platform to minimize its footprint in the crowded utility room. It's still tight. |
|
June 16. The air conditioning condensers finally arrive. The new high-efficiency units are larger than expected and the platform will have to be rebuilt. |
|
June 1. The WiFi antenna close up. A plastic spring-loaded removable access panel will cover this hole in the ceiling. |
|
June 1. I cut a square access hole in the ceiling of the network closet. The WiFi antenna resides between the joists in this space. |
|
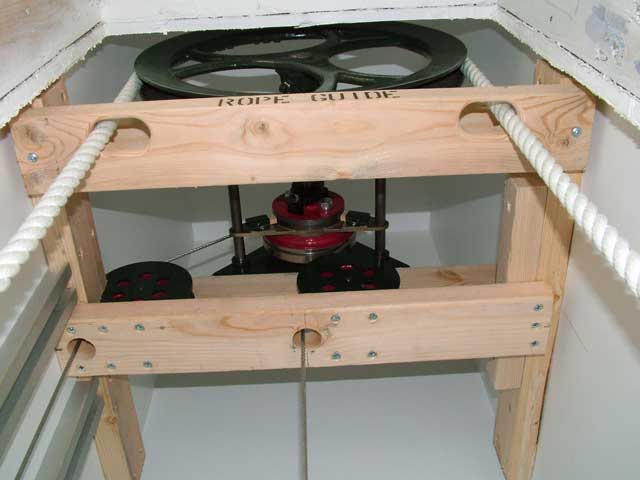
May 23. A close-up view (looking up) of the dumbwaiter hoist mechanism. It is a little different from the pulley mechanism we saw last year (in the New house/Ideas section) |
|
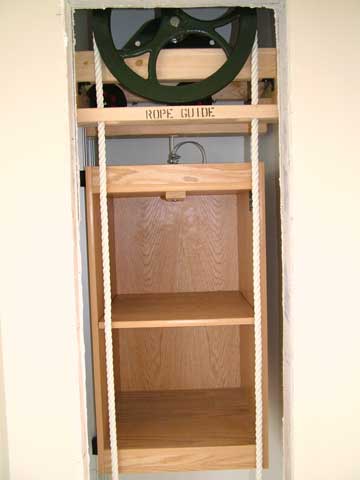
May 23. The dumbwaiter car & mechanism were installed today in about 90 minutes- and it really works! It's interesting to look back at the one we saw last year (in the New house/Ideas section) |
|
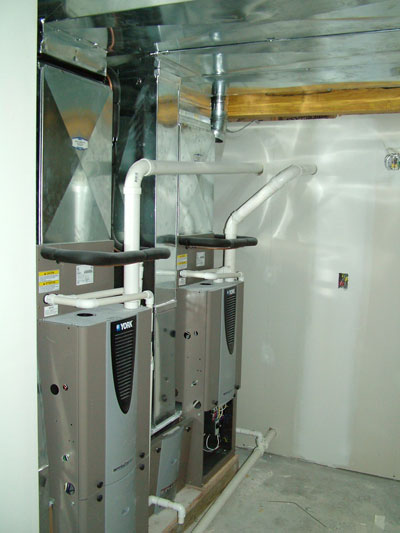
May 19. The 2 gas HVAC units have been installed. Although very compact, each contains a furnace and chiller. They are direct vented out the wall - no chimney flue is required. |
|
May 5. Yipes! I need my stronger glasses when doing this part. |
|
May 5. Since I couldn't photograph the linemen, I went inside and connected the phone wiring in the network box using the Cat-5 punch-down block. |
|
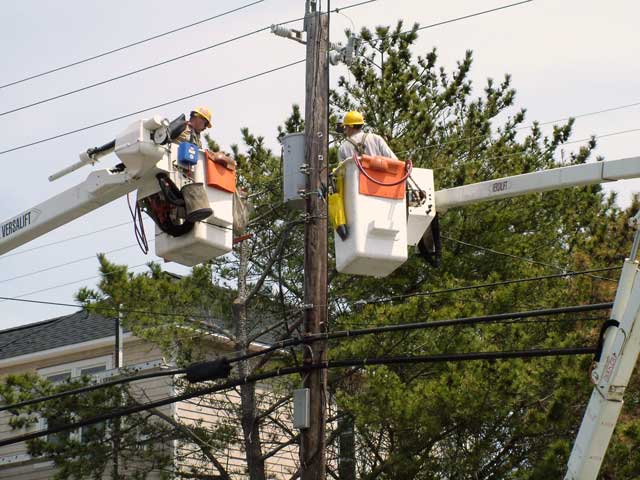
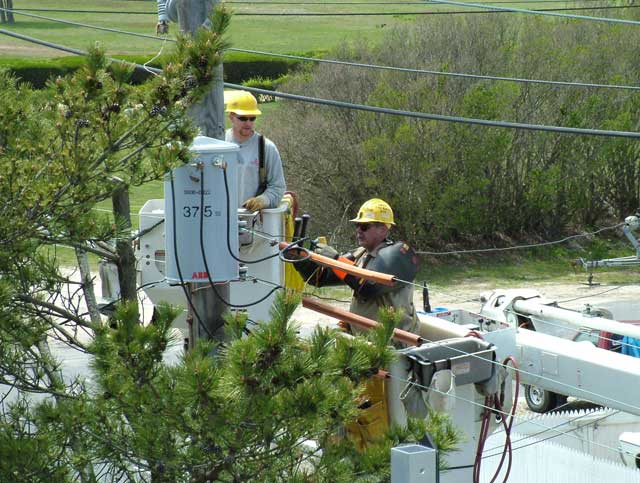
May 5. The Conectiv crew boss told me that I am "not allowed to take pictures." Right. |
|
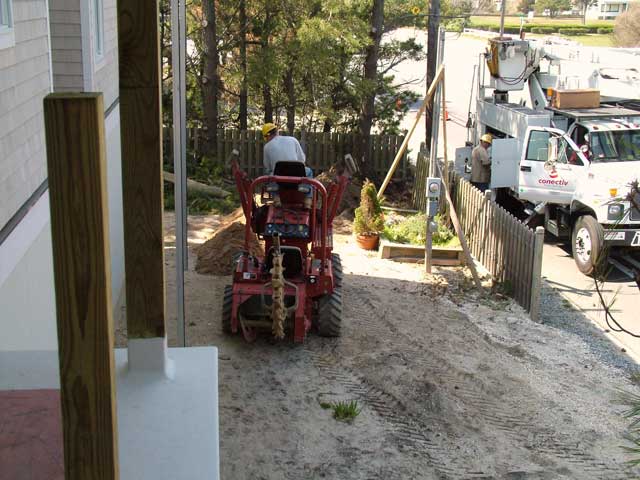
May 5. Up on the utility pole the Conectiv linemen make the electrical connection. They work with the fully-energized wires by wearing lots of protection. |
|
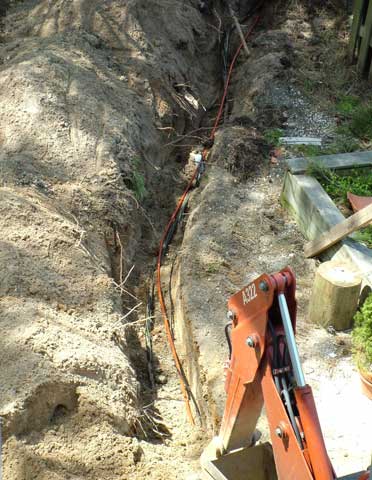
May 5. The trench contains the power lines, the coaxial cable and the telephone line (inside the orange conduit). The conduit will allow any future Verizon upgrade to fiber optic cable. |
|
May. 5. Today the electric company (Conectiv) is digging the trench from the utility pole to our utility room. |
|
Apr. 27. I ran a component fit test on the network box. Phone network, cable network, cable modem, ethernet & WiFi router all fit, but it'll be crowded. |
|
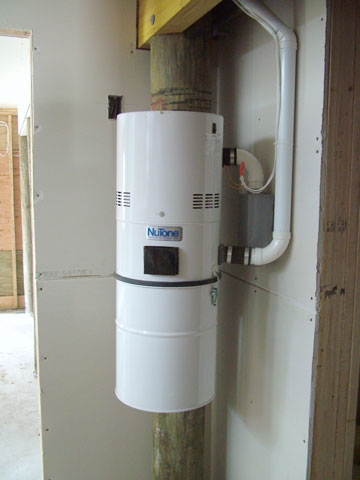
Apr. 27. I installed the salvaged Nutone vac unit outside the utilities room and tested the upstairs vacuum outlets. Everything worked (whew!). |
|
Apr. 19. The air conditioning condenser units will go on this platform. |
|
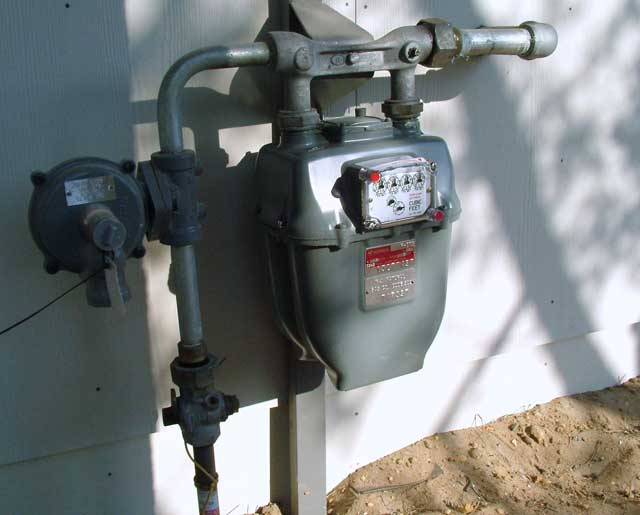
Apr. 19. The meter has been installed at the gas entrance. |
|
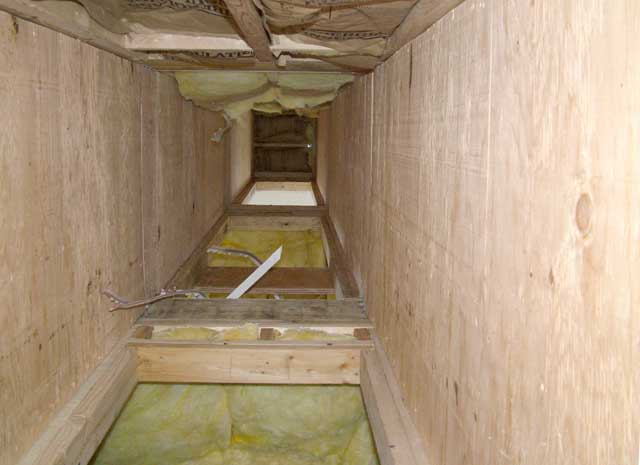
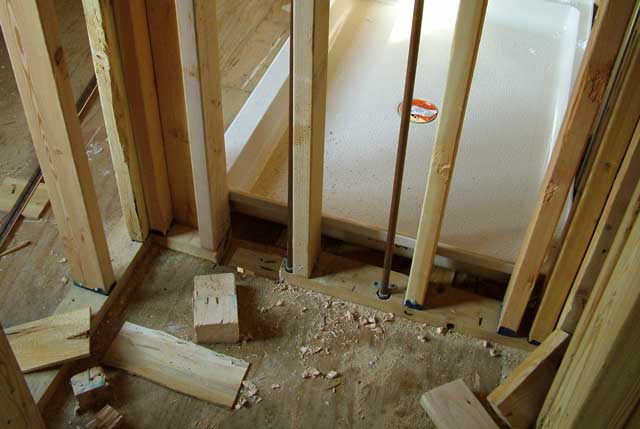
Apr. 14. The floor sheathing was left in the dumbwaiter shaft until now for safety reasons. Once cut out, the shaft is open from top to bottom. This shot is looking up from the lower level. |
|
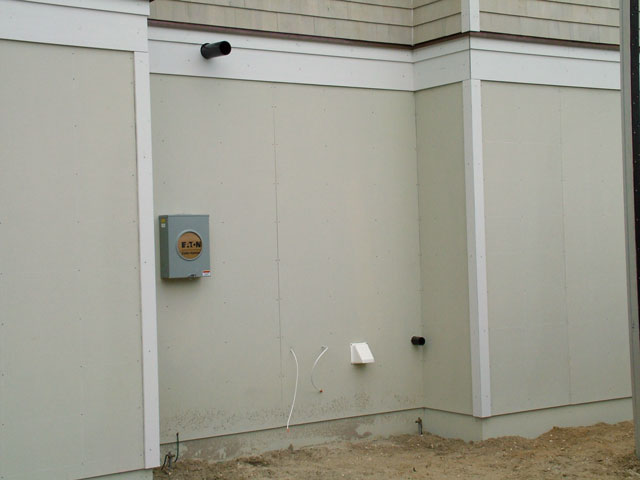
Apr. 7. Outside the utility room, systems interface with the outside world (left to right): Electric meter, HVAC and water heater exhaust, CAT-5 (phone), coaxial cable, dryer exhaust, laundry pan overflow drain (details here). |
|
Apr. 5. I've completed the vacuum piping and control wiring thoughout the house. There are six inlet ports. |
|
Mar. 29. All the power circuits, plumbing and HVAC ducts converge in the utility room. It's going to be a tight fit when the furnaces and hot water heater go in. |
|
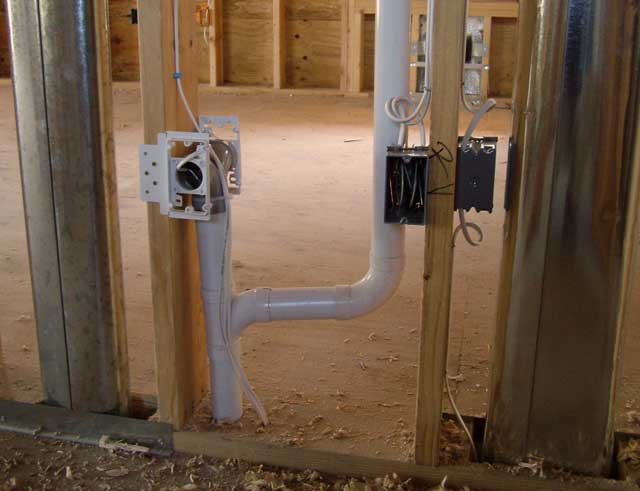
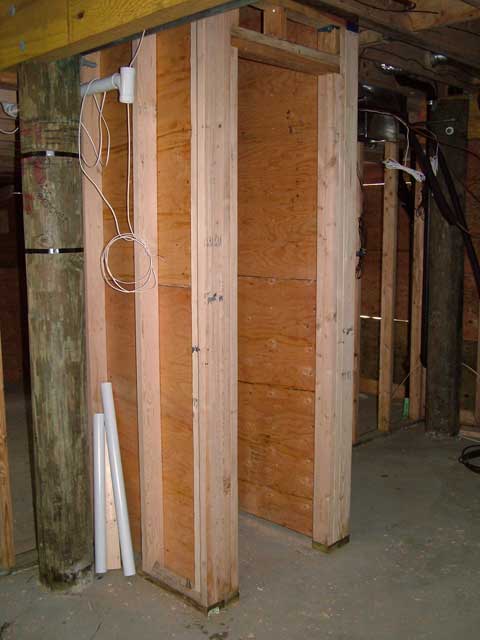
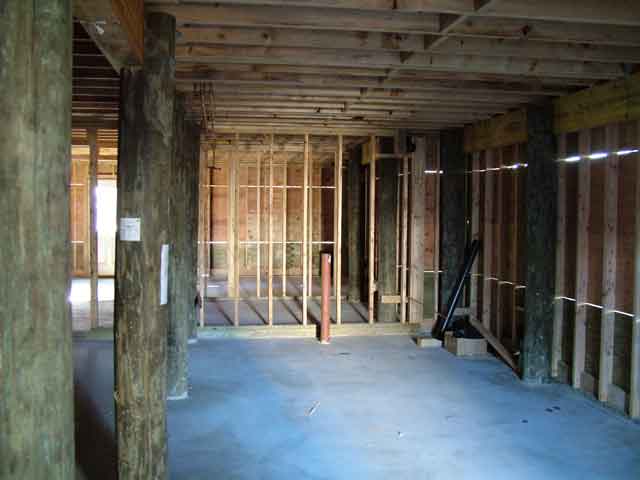
Mar. 29. Jeff has applied the plywood sheathing to the inside of the dumbwaiter shaft. I am locating the central vacuum unit just to the left of the shaft. |
|
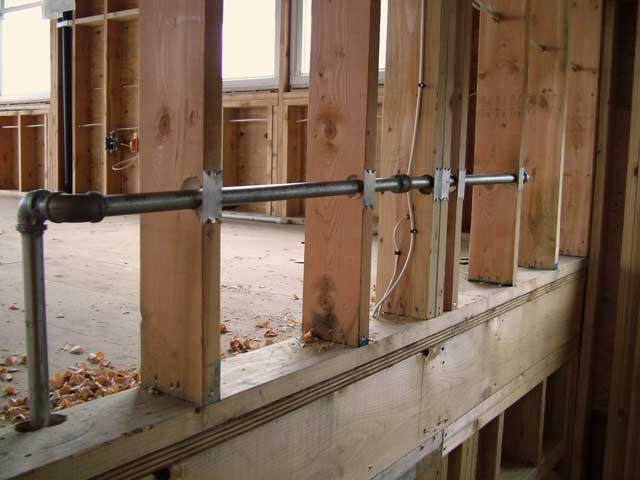
Mar. 22. We thought that the wiring, plumbing and air ducts wouldn't sufficiently tear the place up, so we decided to run gas piping for a future fireplace. |
|
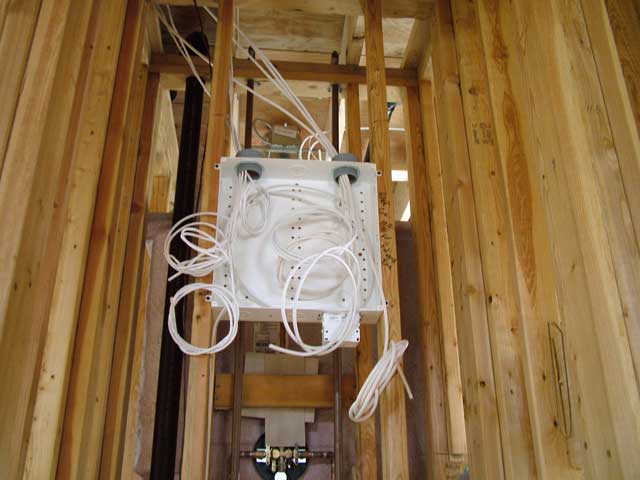
Mar. 22. I've done my best to organize the spaghetti explosion behind the network box. This area was also invaded by gas piping (see next). |
|
Mar. 22. I finished running all the network cables to the box today. |
|
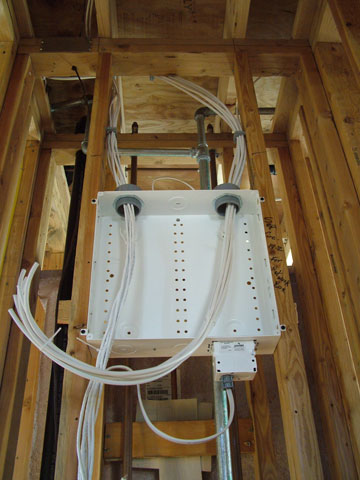
Mar. 17. I am bringing all the video, phone and ethernet cable to my central network box. The box will also house a cable modem, wireless router and a voltage surge protector. It's going to be crowded in there. |
|
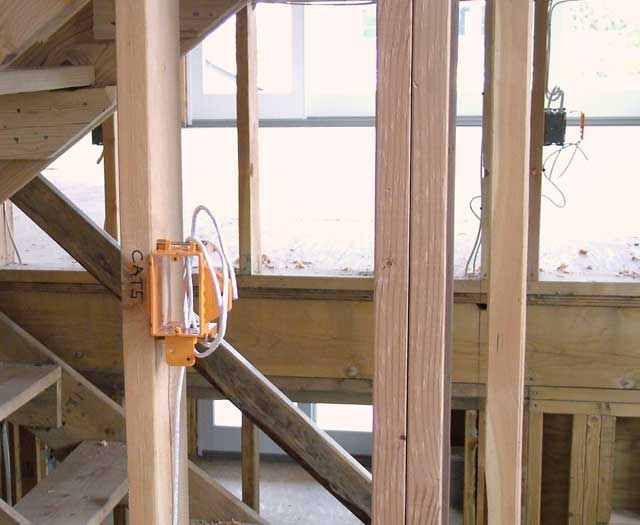
Mar. 17. I've installed the orange boxes that I use for CAT-5 data and phone cable and for the coaxial TV cable. Most rooms in the house get two boxes. |
|
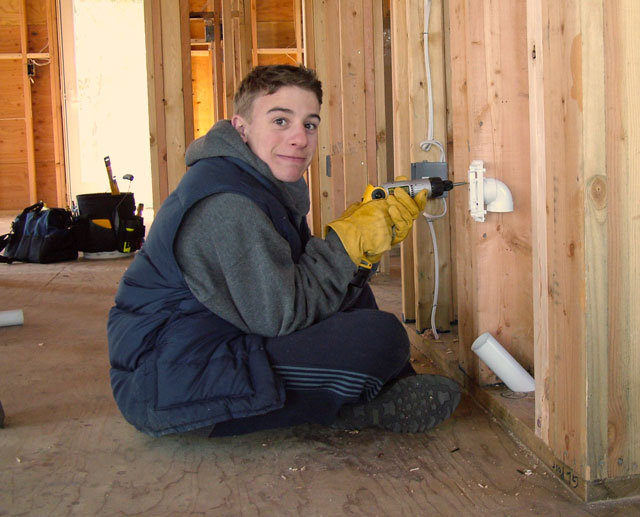
Mar. 15. Austin is helping me this week with the central vacuum and video/ data/ phone cabling systems. (click here for related pic) |
|
Feb. 24. Also today, I mounted the central network (video, ethernet, phone) box in the 1st floor hall closet. |
|
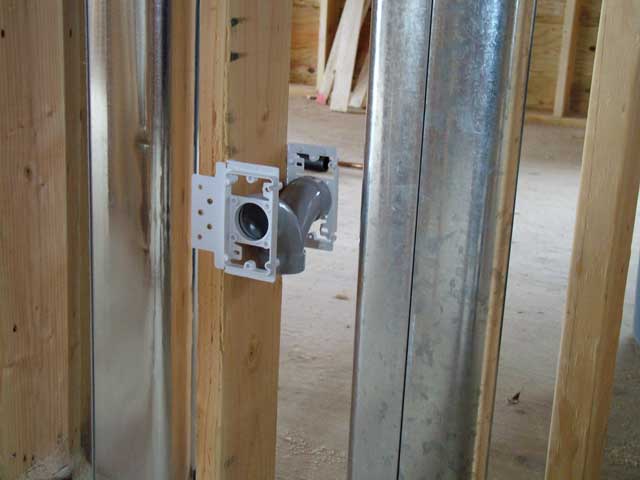
Feb. 24. At last I get to work on the really interesting stuff. Today I mounted the wall ports for the central vacuum system. |
|
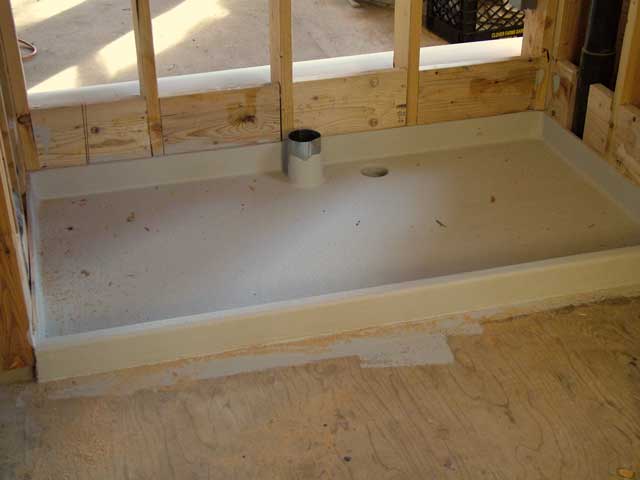
Feb. 23. The frame for the washer/dryer pan has been fiberglassed. The emergency drain and dryer exhaust vent are at center (details here). |
|
Feb. 21. This air duct hole conflicted with the shower door. The partition had to be rebuilt. |
|
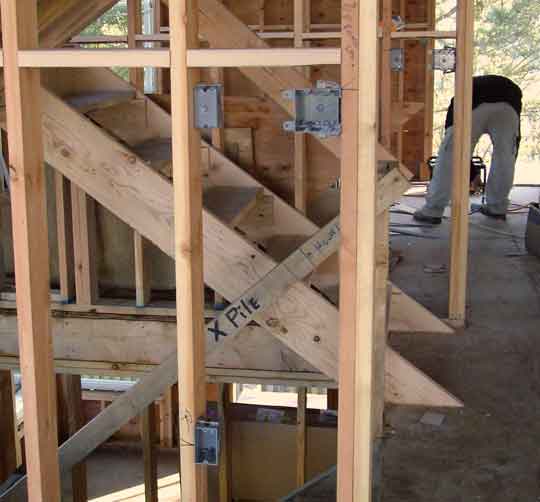
Feb. 21. This is what happens when subcontractors don't read the spec. HVAC guys cut dozens of holes throughout the house for floor registers before learning that wall registers are specified, leaving us with a lot of extra holes. |
|
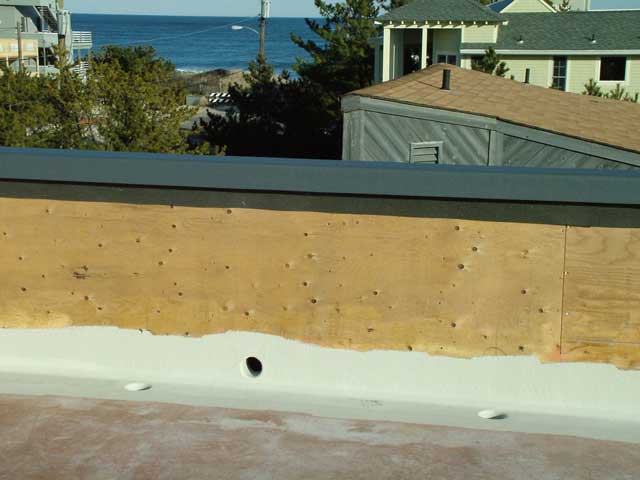
Feb. 21. The roof top deck has these drains (pointing down) and emergency overflow drains ("scuppers," pointing out) to release rain water from the deck. Otherwise, the weight of the water could cause damage. |
|
Feb. 15. The plastic electrical boxes have been mounted in likely locations for a walk-through test. |
|
Feb. 9, 2005. This is the frame for the washer/dryer pan prior to being fiberglassed. Any spills or leaks will drain outside (details here). The dryer exhaust vent is at center. |
|
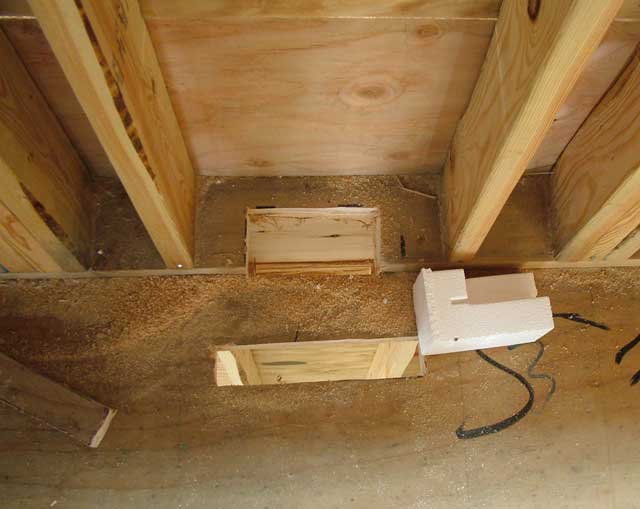
Dec. 29, 2004. The lowest level of the dumbwaiter shaft is in place. |
|
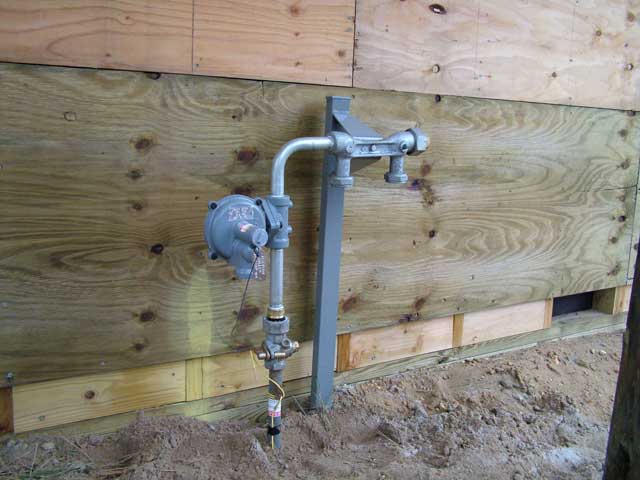
Dec. 23. The gas company ran the new line from the street to this meter location. It's situated under the west side porch return & behind a column, making it invisible from the street. |
|
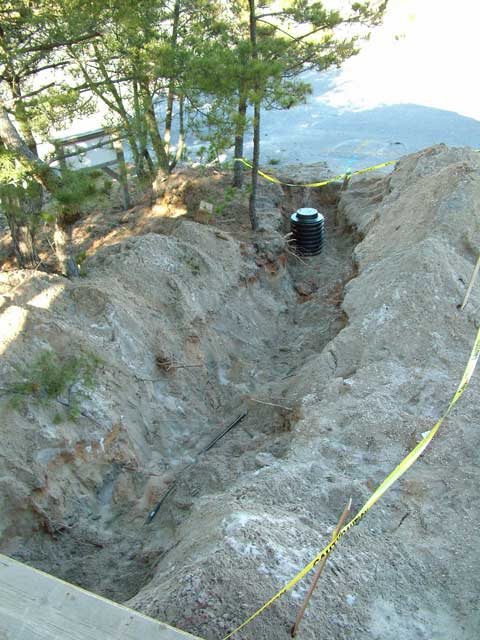
Dec. 23. The utiliity box for the water main and house pipes drain is now at the slab grade (details here). |
|
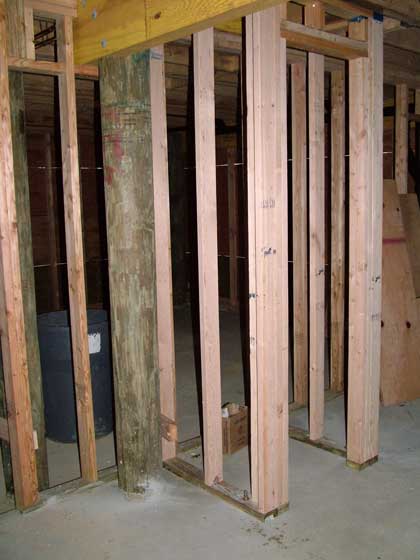
Dec. 23. Fred has finished pouring the slab. Jeff thought to include a Lally column (center) in the garage to keep cars from crashing into the gas HVAC units. |
|
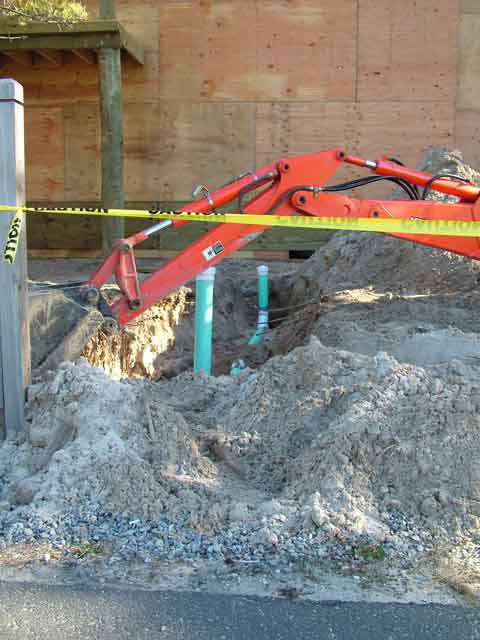
Dec. 15. Along with the water main, the plumbers install the new sewer line on the west side. These guys are well ahead of the game. |
|
Dec. 15. What a break! It's discovered that a water service valve box was never installed for this lot, so we get a new one provided by the Town. |
|
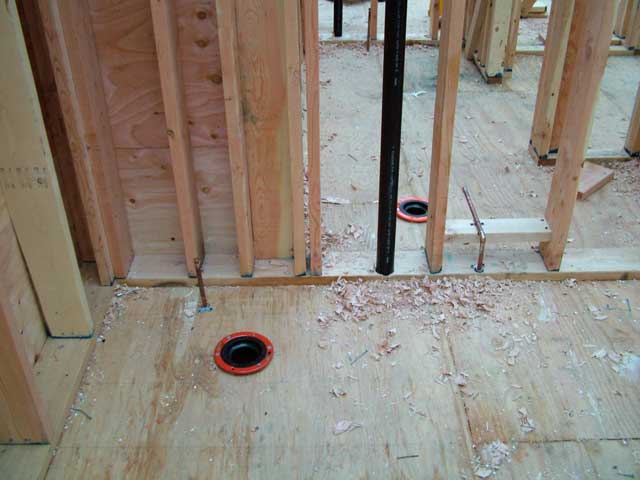
Nov. 22. The plumbers begin roughing-in even before the roof sheathing is up. Here are the master bath and powder room toilet rough-ins, under an open sky! |
|
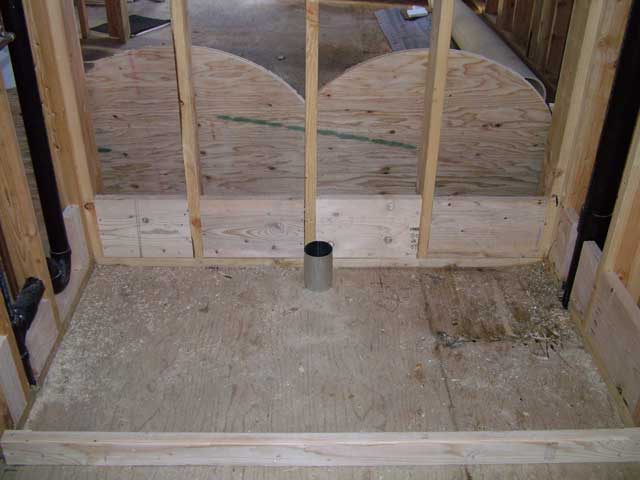
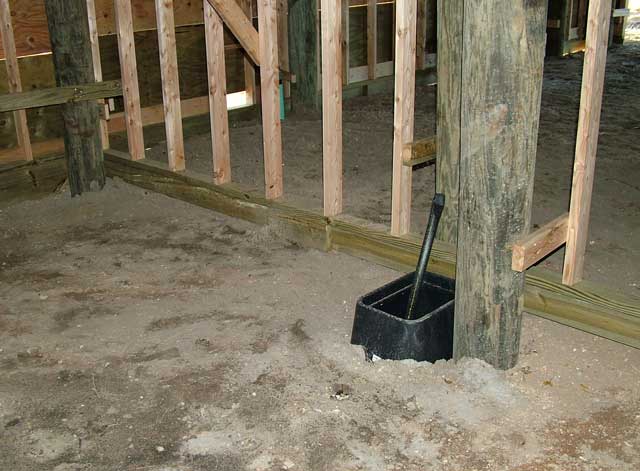
Nov. 11, 2004. One neat feature is the whole house drain. In cold weather we can drain all the water from the house pipes through the concrete slab using this entry box. The sand lets it drain rapidly (details here). |